Install Jitsi Meet on Ubuntu Server
- SSH into your server as root
- Install the Jitsi repository key:
wget -qO - https://download.jitsi.org/jitsi-key.gpg.key | sudo apt-key add -
Create a new repository sources file – sources.list.d – for the Jitsi repo:
sudo sh -c "echo 'deb https://download.jitsi.org stable/' > /etc/apt/sources.list.d/jitsi-stable.list"
Install
apt-transport-https to access packages with an SSL (HTTPS) connection:
apt-get install apt-transport-https
Update your Ubuntu server package lists:
sudo apt-get -y update
Install the Jitsi Meet full suite:
sudo apt-get -y install jitsi-meet
- When prompted, type your intended hostname or domain for the Jitsi URL
- Choose to use self-signed SSL (Let’s Encrypt) or your own preinstalled SSL
Regardless of your above choice, we recommend you install a free Let’s Encrypt SSL certicate with Certbot if you need an SSL rather than using an insecure (HTTP) connection.
Create a Meeting
- After installing Jitsi Meet, visit your Jitsi URL to create a video conference
- In the upper-right corner, select the Settings icon
- Here you can configure your camera, microphone, display name, Gravatar email, and language settings
- Select OK to save changes
- Add a meeting name and select GO to create a Jitsi meeting
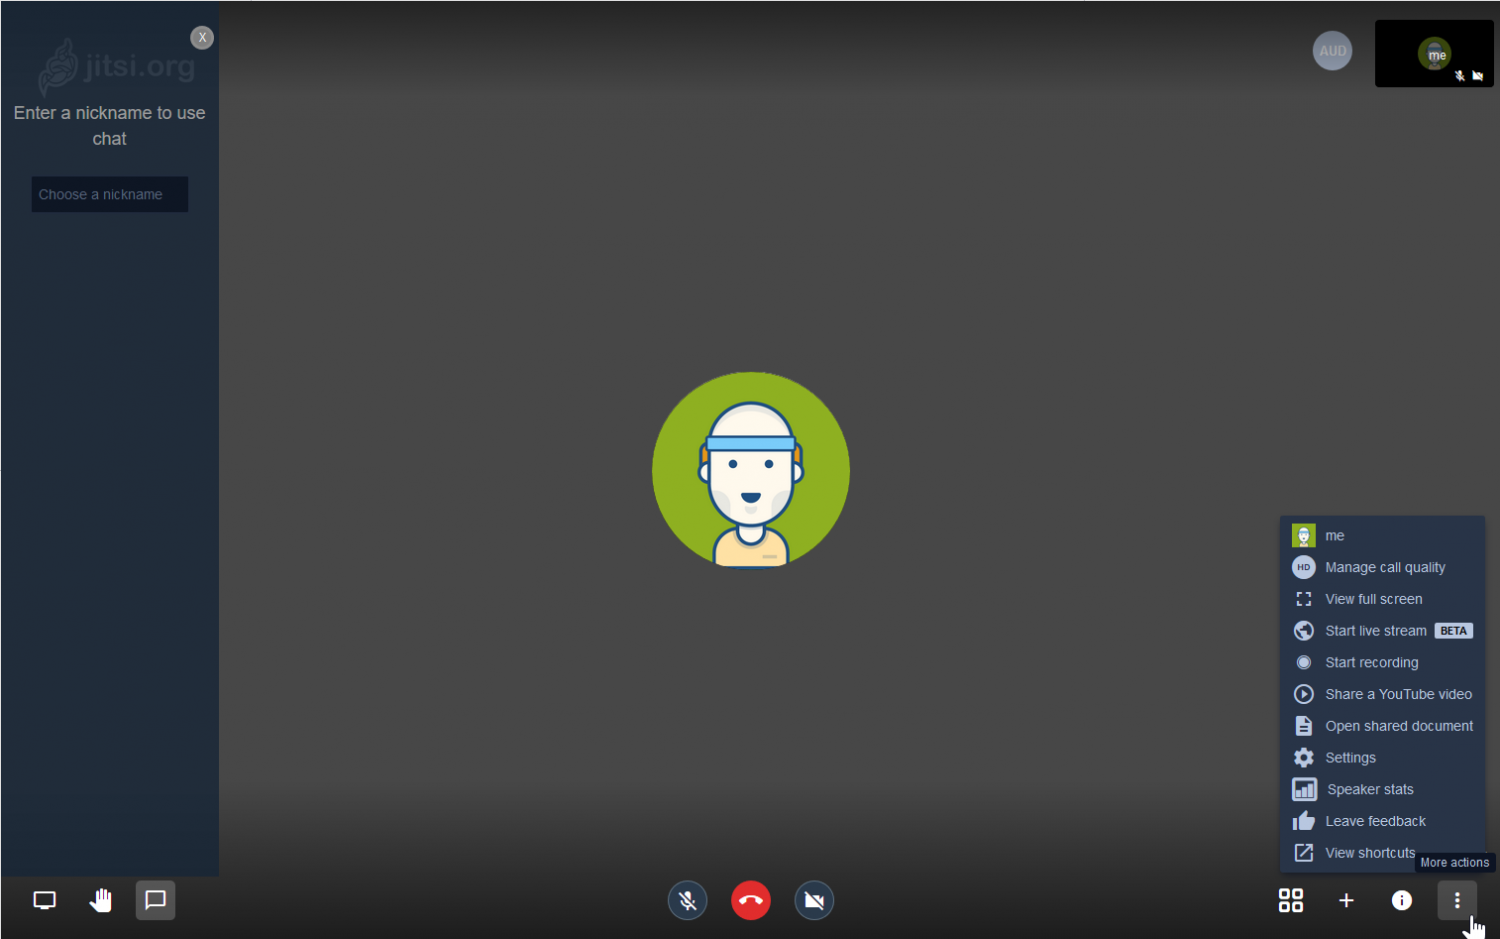 Jitsi Meet Broadcasting
This entry was posted in Live Broadcasting.
Tham khao them
https://technologyrss.com/how-to-install-jitsi-own-server-for-video-conference-on-ubuntu-18-04/