Cách tạo USB Dual Boot UEFI Legacy với WinPE
- Thứ tư - 09/09/2020 01:29
- In ra
- Đóng cửa sổ này

Hướng dẫn tạo usb dual boot
Bước 1: Đầu tiên bạn hãy tiến hành Format USB theo chuẩn FAT32, bạn có thể Format theo kiểu Quick Format (Format nhanh) cũng được. Hoặc nếu có thời gian và chắc ăn hơn thì bỏ tích ở dòng Quick Format rồi mới Format (Đây là kiểu Format chậm, cách này sẽ hơi mất thời gian một chút đó).
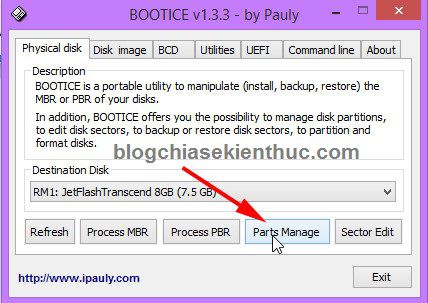
Bước 2: Nhấn chuột phải vào file BOOTICE.exe và chọn Run as adminstrator để chạy dưới quyền quản trị. Tiếp theo bạn hãy nhấn vào Parts Manage như hình bên dưới.
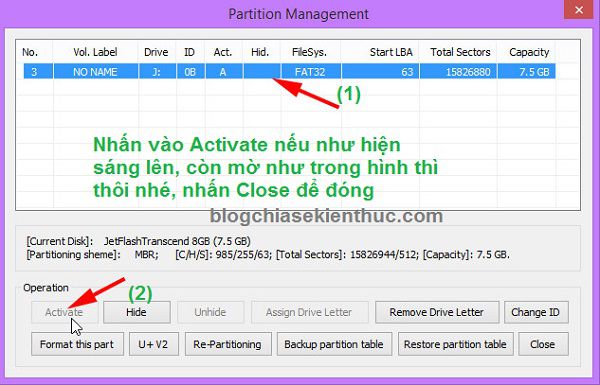
Bước 3: Tiến hành Activate USB, do ở đây USB của mình đã được Activate rồi nên nó sẽ mờ đi như thế này.
Bước 4: Tạo khả năng BOOT cho USB
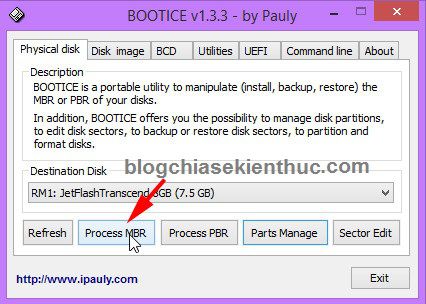
+ Bạn hãy nhấn vào Process MBR để nạp MBR cho USB
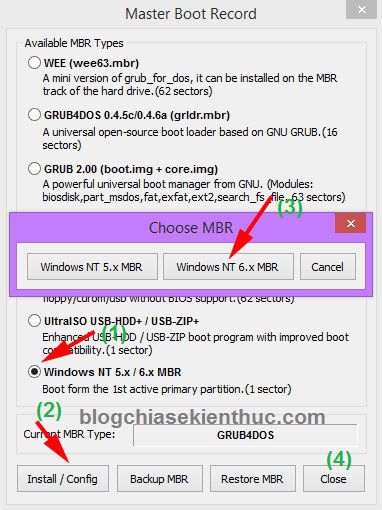
Tiếp theo tích vào dòng Windows NT 5.x/ 6.x MBR > nhấn vào Install/ Config > chọn phiên bản mới nhất Windows NT 6.x MBR để cài đặt. Sau đó bạn nhấn Close để đóng lại.
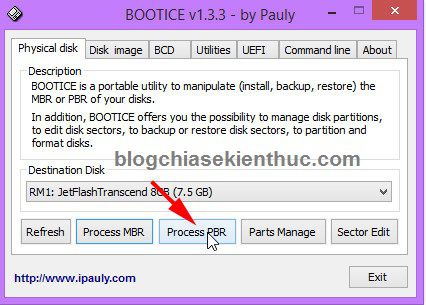
+ Tương tự, chúng ta tiến hành nạp PBR cho USB
Bạn hãy nhấn vào Process PBR như hình dưới.
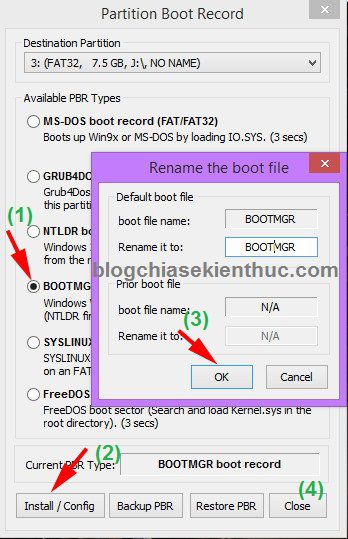
Tiếp theo bạn tích vào lựa chọn BOOTMGR boot record (FAT/FAT32/NTFS) > tiếp theo bạn chọn Install/ Config > và nhấn vào OK để thực hiện.
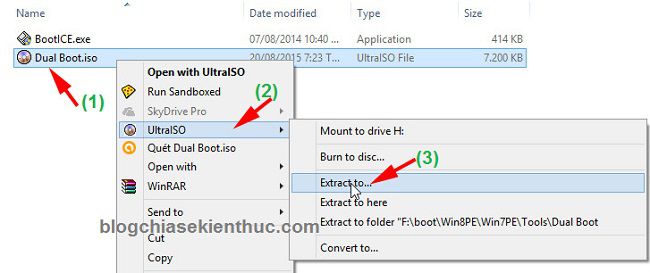
Bước 5: Bạn hãy tải file Dual Boot.iso (Link tải ở bên trên nhé) về, sau đó giải nén nó ra USB. Bạn có thể sử dụng UltraISO hoặc Winrar để giải nén nhé, miễn sao giải nén nó ra USB là được.
Như trong hình là mình sử dụng UltraISO để giải nén đó.
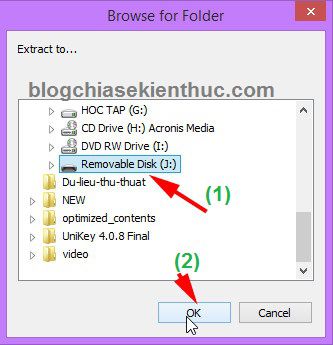
Lựa chọn nơi giải nén là USB.
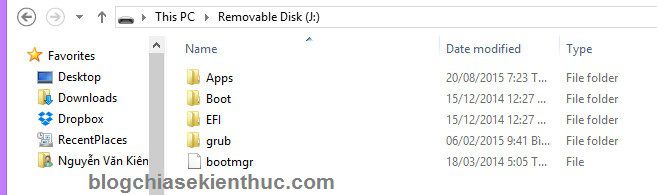
OK, sau khi giải nén xong thì USB của bạn sẽ có những thư mục và file như thế này.
Test USB xem đã Boot được chưa?
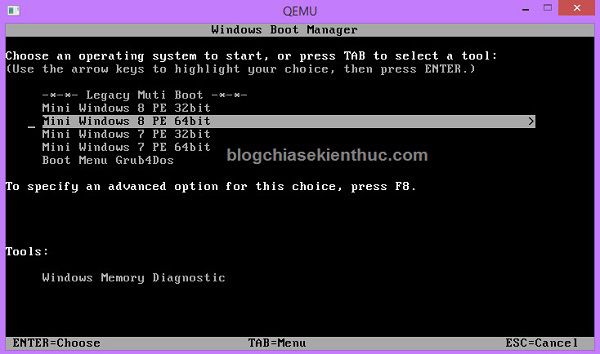
Sau khi giải nén xong thì lúc này USB của bạn đã có khả năng BOOT rồi đó, bạn có thể sử dụng phần mềm MobaLiveCD hoặc UltimateBootUSB để test khả năng boot của USB bạn vừa làm nhé.
Note: Đây là menu boot khi bạn cứu hộ máy tính ở chuẩn Legacy nhé.
Download và copy những file cần thiết vào USB BOOT
Rồi! bây giờ công việc của các bạn rất đơn giản đó là download những file cần thiết sau đó copy vào các thư mục tương ứng của USB là xong. Một công việc không thể đơn giản hơn 😛
– Thực hiện: Bạn cần download những file sau: Apps.wim, w7pe32.wim, w8pe32.wim, w8pe64.wim, CongCu.rar, Dual Boot.iso, BOOTIEC.exe
– Tiếp theo bạn copy vào các Folder tương ứng như sau:
- Copy file
Apps.wimvào thư mụcAppscủa USB. - Copy file
w7pe32.wim,w8pe32.wim,w8pe64.wimvào thư mụcBootcủa USB. - Giải nén file
CongCu.rar, sau đó copy hết các file trong đó vào thư mụcgrubcủa USB.
Done! Như vậy là bạn vừa tạo thành công một chiếc USB DUAL BOOT theo 2 chuẩn UEFI và LEGACY rồi đó, rất đơn giản đúng không 😛
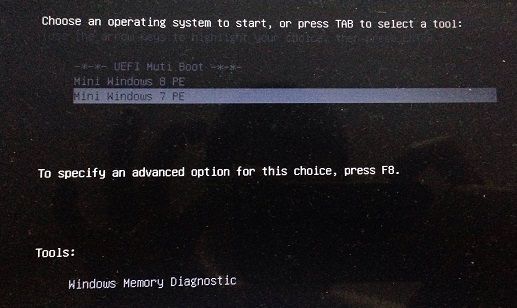
Và đây là kết quả mình đã test trực tiếp trên máy tính laptop DELL của mình, đang ở chuẩn UEFI nhé!
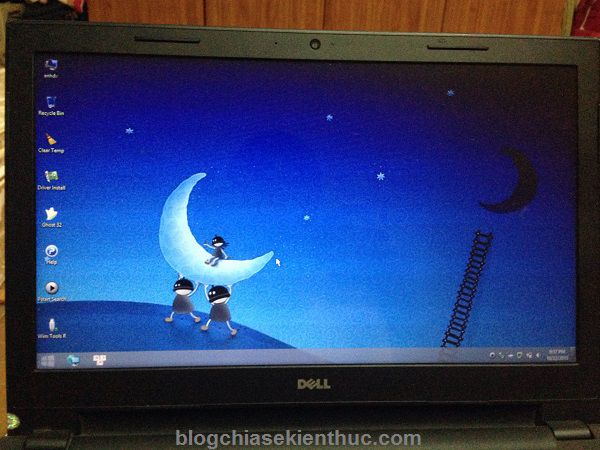
Đây là giao diện khi vào WinPE 8 😀
Lời kết